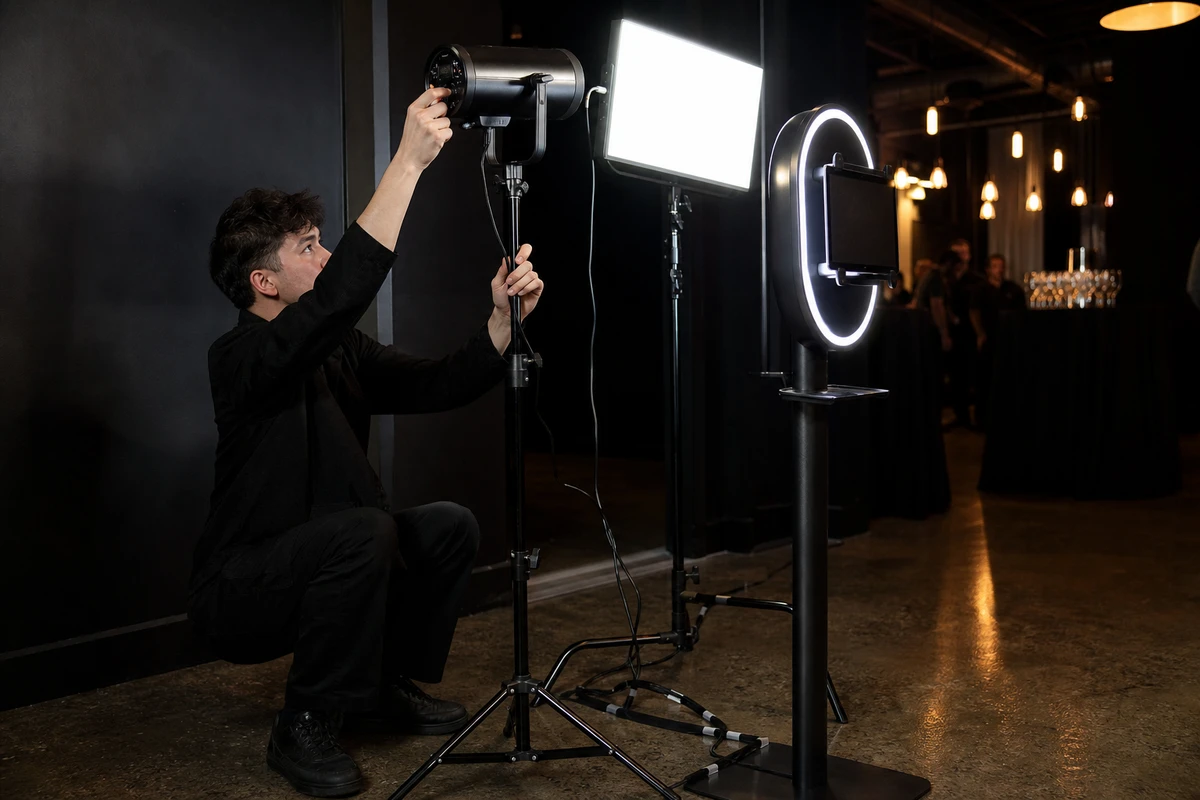
The right rig for a commercial photo booth is the one matched to your venue class, not the biggest one on the rack. A dark hotel ballroom, a sun-flooded trade show floor, and a basement nightclub are three different lighting problems with three different answers. The three light families (ring, softbox, and continuous LED panel) each match a different venue class. The sections below map them to the venues you book, give you a repeatable ambient-correction protocol, and run the cost-per-event math so you can invest in the kit that pays back fastest.
The Three Light Families and What They Actually Give You
Commercial photo-booth lighting collapses into three form factors. Everything else is a variation.
Ring Light
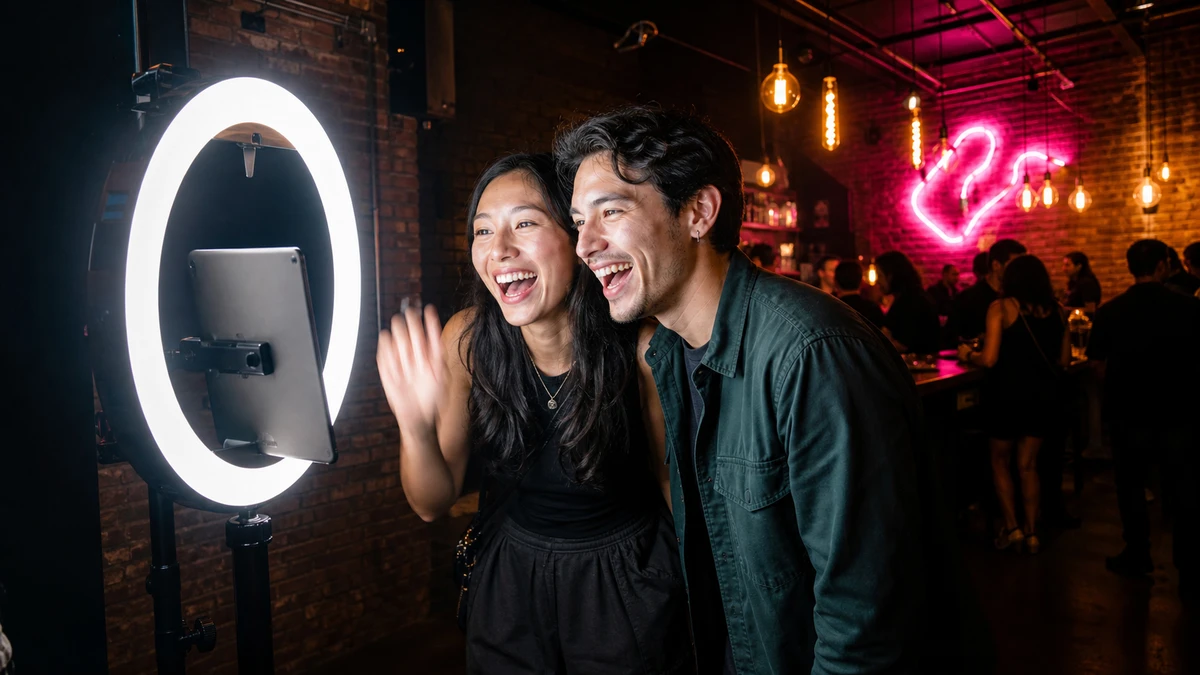
A ring of continuous LEDs arranged around the lens axis. It fills shadows from every angle and leaves a signature circular catch-light in the subject’s eyes. Strong for solo and duo portraits at one to four feet. Weak for groups of five or more, because the inverse-square law pulls the edge subjects a foot or two further from the source and the light falls off visibly between the center and the frame edge (PhotoBoothTalk Part 2, 2016).
The cheap RGB rings sold as “photo booth lights” create white by mixing red, green, and blue diodes, which produces a peaky spectrum with large wavelength gaps and a Color Rendering Index that can fall below 50. Simple Booth puts the figure at “CRI below 50” in its ring-light color breakdown (vendor-published), and the underlying spectral theory is explained in the RP Photonics Encyclopedia, which notes that RGB mixing yields “white light with rather poor color rendering properties.” If the light on your booth column is RGB-only, it is a decorative fixture, not a photography light.
Softbox Or Umbrella With A Continuous LED Head Or Strobe
The workhorse for groups. Shadow softness scales with the apparent size of the modifier from the subject’s position (diameter divided by distance), so a 32-inch softbox at four feet produces similar shadow hardness to a 48-inch softbox at six feet. Operators do not need the biggest modifier; they need the right diameter-to-distance ratio. Paired with a strobe, the setup freezes motion. Paired with a continuous LED head, it supports GIF, boomerang, and video output, because a strobe cannot fire at frame rate (PhotoBoothTalk Part 3, 2016).
Bare Continuous LED Panel
The video-first answer. Because the light is always on, what you see is what you capture, which simplifies setup but trades peak brightness for steady output. Required any time the booth produces moving images.
Three specs decide whether a given head or ring is worth owning:
- CRI of 90+ for skin tones that look correct across brand palettes, and 95+ for color-critical work. The RP Photonics Encyclopedia describes CRI above 90 as “excellent and suitable for color-critical applications such as photography” and CRI above 95 as the point at which “all colors render without significant issues.” Snapbar’s vendor blog recommends 95-plus specifically for photo-booth work.
- Kelvin adjustability across roughly 2,700K to 6,500K. This is the range of venue ambients you will actually encounter. A fixed-5,500K head is only correct in a subset of rooms.
- Output measured in lumens, not watts. Wattage describes power draw. A 100W tungsten bulb and a 100W LED panel emit wildly different lumens; the manufacturer’s lumen figure is the only number that predicts how the rig performs against venue ambient.
If you want decorative color on a column for attract mode, buy an RGBWW fixture (separate warm-white and cool-white diodes alongside the RGB set), not a pure RGB ring. The RGBWW design keeps a true white at target Kelvin available for the capture moment while giving the column a color-change show between sessions.
Color Temperature, Kelvin-Matched to the Room
Common Venue Kelvin Ranges
Every competing article says “match the ambient color temperature.” None of them tell you what the ambient actually is. Here is the working reference most operators can commit to memory:
| Venue class | Typical ambient Kelvin | What to do |
|---|---|---|
| Hotel ballroom with incandescent or Edison fixtures | 2,700–3,000K | Set booth to 3,000K, or make booth dominant and neutralize venue. |
| Restaurant or bar with warm ambiance | 2,700–3,000K | Same as ballroom. Watch for mixed kitchen-light bleed. |
| Corporate office lobby with mixed fixtures | 3,500–4,000K | Hardest case. No single dominant Kelvin. Use the blackout test if possible. |
| Convention hall or trade show (fluorescent/LED overhead) | 4,000–4,500K | Often green-biased. Verify with a gray card or Kelvin meter app. |
| Retail store with daylight LED | 5,000K | Closest match to most booth defaults. |
| Outdoor open shade | 6,000–6,500K | Cool/blue. Raise booth Kelvin to match, or add diffusion to soften direct sun. |
| Nightclub with DJ RGB lighting | Effectively undefined | Treat ambient as noise. Overpower; do not match. |
These ranges come from practitioner community references on PhotoBoothTalk, which reports 5,500K as the default for photography-trade LED panels, and from Simple Booth’s color guide, which recommends 5,000–6,000K as the ideal booth temperature because it matches natural daylight. Treat the values above as practical working ranges, not regulatory minimums. A phone light-meter app (Lumu or Lux Light Meter) calibrated once with a gray card is accurate enough for venue scouting.
More Power Does Not Fix Kelvin
The misconception worth correcting: mismatched Kelvin is not fixed by more power. If the booth fires at 5,500K into a 2,800K warm-tungsten ballroom, the camera’s auto white balance picks one side to anchor, and the other side shifts. Operators see this as “the left half of every photo looks sunburned, the right half looks fine.” 1021 Events documents the same pattern in reverse (cool-blue skin against a warm amber background) in its photo booth lighting guide. The fix is to Kelvin-match your booth to the room, or to make the booth dominant enough that the camera reads almost entirely from booth light. Turning brightness up without changing Kelvin just burns out the subject while leaving the background cast intact.
Reading the Venue Before You Plug Anything In
Everything above is pre-booking theory. This is the five-minute audit you run on site, or a few days ahead at the same time of day if the venue allows.
- Kelvin read at three zones. Subject position, backdrop, perimeter. If all three read within about 500K of each other, you are in a uniform venue. If they spread further, you are in a mixed-fixture venue and you need the booth to be dominant, not matched.
- Ambient lumens at subject position. Under about 100 lumens the room is dark and continuous LED will dominate comfortably. Over about 500 lumens the ambient is strong enough that a continuous LED head cannot realistically win without stopping the aperture down to a level that kills the booth exposure, and strobe becomes the right tool.
- Fixture audit inside 15 feet. Tungsten pot lights, fluorescent tubes, or RGB DJ cans within 15 feet of the booth are the contamination sources. Note them. If any of them cannot be turned off, plan to overpower.
- Power and cable reach. Distance from the nearest 15A outlet, whether a battery kit is required, and whether the venue allows gaff-taped cords across walkways. These constraints decide rig weight, not rig style.
- Group size expectation. Brand activations often ask for solo headshots. Corporate off-sites and trade shows routinely ask for six to ten people in frame. Design for the worst case, not the average, because the one group shot that fell apart is the one that ends up on LinkedIn.
A 30-second Kelvin reading at the subject position prevents most of the color-cast problems operators spend the rest of the event trying to fix in software.
Choosing Your Rig by Venue Class
Each row below is a venue class you book.

| Venue class | Primary rig | Why | Skip |
|---|---|---|---|
| Dark ballroom, stills only, groups of 2–6 | Two softboxes at 45 degrees, 32–48 inch modifiers, 5,000–5,500K continuous LED heads | Soft coverage, forgiving, Kelvin-matches most daylight venue defaults | Strobe (overkill), bare ring (won’t cover groups) |
| Dark ballroom with DJ uplighting, GIF/video enabled | Single large softbox over camera, dimmer fill, Kelvin-matched to booth | Continuous is required for video; dominance neutralizes DJ cast | Flash (breaks video workflow) |
| Corporate brand activation, tight footprint, solo/duo subjects | Ring light at lens axis plus one rim/hair light for separation | Fits the space; catch-light is on-brand for beauty UGC | Two-softbox (won’t fit) |
| Trade show floor, bright ambient, high throughput | Strobe primary with softbox, plus a continuous LED attract column | Strobe is the only way to freeze motion and overpower overhead floods | Continuous-only (loses to hall lighting) |
| Outdoor daytime pop-up | High-power strobe with heavy diffusion, or a hard shade structure | The only source bright enough against midday sun | Continuous LED of any kind at midday |
| Dark bar or nightclub | Strobe at low power, Kelvin-matched attract LEDs | Kills the purple/RGB cast by making booth the dominant source | Matching the DJ’s color (your job is to overpower, not harmonize) |
| Hotel or retail lobby with mixed fixtures | Single softbox, booth output roughly 3x ambient at subject | Dominance neutralizes the white-balance averaging problem | Relying on venue fixtures to do any lifting |
The “make the booth dominant” advice needs a caveat. There is no independent published figure for the exact ratio at which a consumer camera’s auto white balance locks onto the dominant source; the working rule in operator practice is roughly three-to-one booth output over ambient at the subject distance, confirmed by the blackout test in the next section. If you cannot pass the blackout test with your strobe, or you cannot see a clear subject-to-background ratio in a test frame with your continuous rig, the room has won and you need a stronger light.
The Ambient-Correction Protocol
There are two versions. The strobe version is well known. The continuous version is hand-waved in almost every competing article, which is a problem because GIF and video workflows force a continuous rig.
For strobe rigs
Two independent sources give the same starting numbers: set camera to ISO 100, shutter 1/160s, aperture f/8 (PhotoBoothTalk Part 3, 2016; 1021 Events).
- Turn the strobe off. Take a test frame.
- If the frame is not black, close the aperture or raise the shutter until it is. Do not exceed 1/200s. Most focal-plane shutters used in booth builds (Canon R10, R50, Nikon Z5, Sony ZV-E10) max out between 1/160s and 1/200s. Above that you get a dark band across the frame because the second curtain starts closing before the first finishes opening. Imaging Resource lists the Nikon Z5 sync at 1/200s, and PhotoBoothTalk’s Part 3 includes test photos showing the banding artifact above that speed.
- Now turn the strobe on. Adjust strobe power (not camera settings) until the subject is correctly exposed.
- Lock manual focus. Set white balance to the “flash” preset or a custom Kelvin.
- Leave the camera untouched for the rest of the event. Every adjustment after this point is on the lights, not the body.
For continuous LED rigs
You cannot shutter-kill ambient at continuous-light power levels without also killing your own booth light. At 1/160s and f/8 a continuous LED rig is usually underexposed, and opening up or slowing the shutter re-introduces the ambient you were trying to suppress. The continuous protocol is therefore different.
- Measure ambient lumens at the subject with a meter app.
- Set booth output significantly above ambient at the same position. The exact ratio is not a published figure, but operators typically find that booth dominance of roughly three-to-one over ambient is the practical floor at which the camera’s auto white balance stops averaging the two sources.
- Kelvin-match booth to ambient if the venue has one dominant source. If it does not, win by dominance instead.
- If ambient is strobe-class bright (trade show overhead floods, daytime outdoor), stop. Continuous is the wrong tool. Switch rigs or add shade.
- Set the camera to manual white balance at the Kelvin you chose for the booth light. Do not trust auto white balance in a mixed-source room.
The continuous-LED weakness is structural, not a deficit of any particular panel. PhotoBoothTalk’s Part 2 puts it plainly: continuous LEDs are “not really as bright as you think they are, stray sunlight or a PAR 38 flood bulb will cast more light than your system can overcome.” If the room is winning, switch rigs.
When to Mix Rigs: The Hybrid Workflow
Some venues need both families at once. Continuous for attract mode and any GIF or video output, strobe for the still capture. This is common on corporate activations where the marketing team wants a share-ready GIF and a printable still from the same session.
The working pattern:
- A continuous ring or LED panel runs at low power full-time, driving the attract-mode display and any boomerang or GIF sequence.
- A strobe fires on the still-capture moment, triggered by the booth app.
- Both fixtures are Kelvin-matched so guests’ faces do not shift color between the video and the still.
- Combined power draw on a mid-range hybrid rig lands around 150–250W, well inside a single 15A circuit.
The two rigs must be matched to the same Kelvin. A 5,500K strobe plus a 3,200K continuous ring produces subjects whose faces change color between formats, which guests will not share.
The Economics of Lighting Investment
Operator math. The question is not “should I invest in better lighting,” because the answer is almost always yes. The question is “at what booking cadence does each tier pay back.”
Prices below are from current Adorama listings and equivalent B&H Photo inventory as of April 2026. Treat as ranges; shipping, kit bundles, and promotional pricing move them around.
| Rig tier | Typical kit cost | Break-even at $500/booking | Break-even at $1,200/booking |
|---|---|---|---|
| Entry ring light plus basic LED fill panel | $150–$300 | 1 event | 1 event |
| Two-head continuous softbox kit (two heads, two stands, two modifiers, CRI 95+) | $400–$800 | 2 events | 1 event |
| Strobe monolight kit (one head, softbox, trigger, stand) | $300–$800 entry, $1,000–$1,500 mid-range | 2–3 events | 1 event |
| Full hybrid (strobe for stills, continuous for video, attract LED column, modifiers) | $1,500–$3,000 | 3–6 events | 2 events |
A concrete scenario: an operator running 40 bookings a year at $800 average revenue per booking ($32,000 annual) recovers a $2,500 hybrid kit in the first three months of the season. The real question for that operator is not whether to invest; it is whether the rig matches the venues on the calendar. A $600 two-softbox continuous kit is a better investment than a $2,500 hybrid if the calendar is 80% dark ballroom stills. A $1,500 strobe is a better investment if the calendar is half trade shows.
Common Mistakes That Kill Share Rate
Share rate (the percentage of captured images guests actually post) is the metric brand-activation clients care about. Every mistake below drags it down.
- Ring-light-as-key on a 10-person group. Perimeter guests fall into shadow; only the center three faces are flattered, and six faces look dim. Guests do not share a group shot that makes two-thirds of the room look bad.
- Kelvin-mismatched booth against venue. Half the faces look sunburned, half look fine. Guests share the selfie they took on their phone instead.
- RGB decorative ring treated as the photography light. Low-CRI skin tones read as “filter weirdness” to guests. They assume the booth is broken and stop using it.
- Light too low. Under-chin shadows, monster lighting, the most common beginner mistake. Raise lights above eye level and angle them down around 45 degrees.
- Glare on glasses. Raise lights above eye level, angle down, and ask guests with glasses to tilt their chin down two or three degrees. The problem vanishes.
- No ambient correction at any stage. The venue’s overhead fluorescents win the exposure, skin tones shift every time someone bumps the booth, and the output looks like no two photos came from the same event.
Each of these failures converts directly into fewer shares, which converts into less organic reach for the host brand. That reach is what brand-activation clients are actually paying you to deliver.
FAQ
What is the minimum CRI for a photo-booth light? 90 for acceptable skin tones, 95 for color-critical work. RP Photonics describes CRI above 90 as “excellent” for photography and above 95 as the point at which “all colors render without significant issues.”
Can I use a ring light as my only light source? Yes for solo and duo portraits at one to four feet. No for groups of five or more, because the inverse-square law leaves the edge subjects noticeably darker than the center.
How do I light a photo booth in direct sunlight? You need a high-power strobe with diffusion, or a shade structure over the booth. Continuous LED at any realistic wattage loses to midday sun.
What Kelvin should I set for an indoor corporate event? 3,500–4,000K if the overhead is mixed corporate fixtures, 5,000K if it is daylight LED, 2,700–3,000K if it is warm incandescent or Edison. Read the room before committing.
Do I need a strobe if my booth shoots video? No, and strobe alone will not work. Video and GIF capture require a continuous LED source, because a strobe cannot fire at frame rate. If you also want the sharper stills that strobe delivers, run both in a hybrid rig.
How do I get rid of glare on guests’ glasses? Raise the lights above eye level, angle down at around 45 degrees, and ask glasses-wearing guests to tilt their chin down two or three degrees.
How bright does my booth light need to be to overpower DJ uplighting? Bright enough to dominate ambient at the subject position. There is no single published ratio, but the working rule is roughly three-to-one over ambient at the same distance. If you cannot see a clear subject-to-background ratio in a test frame, the room is winning.
Sources
- 1021 Events. “Photo Booth Lighting Guide.” https://www.1021events.com/photo-booth-lighting/
- Adorama. “Ring Lights — Continuous Lighting.” https://www.adorama.com/l/Lighting/Continuous-Lighting/Ring-Lights
- Imaging Resource. “Nikon Z5 Review — Specifications.” https://www.imaging-resource.com/PRODS/nikon-z5/nikon-z5A.HTM
- PhotoBoothTalk (2016). “Lighting 101, Part 2: Understanding Continuous LED Lights.” https://www.photoboothtalk.com/2016/09/29/lighting-101-part-2/
- PhotoBoothTalk (2016). “Lighting 101, Part 3: Working with Strobe/Flash.” https://www.photoboothtalk.com/2016/09/30/lighting-101-part-3/
- RP Photonics Encyclopedia. “Color Rendering Index.” https://www.rp-photonics.com/color_rendering_index.html
- Simple Booth (vendor blog). “Ring Light Color: What Color LED is Best for Photos?” https://simplebooth.com/blog/ring-light-color
- Snapbar (vendor blog). “Photo Booth Statistics.” https://thesnapbar.com/blog/photo-booth-statistics